
Free on-site gate assessment - hinges, posts, and your LiftMaster or Nice gate operator checked before anything is quoted
The assessment is free and the quote is the invoice.
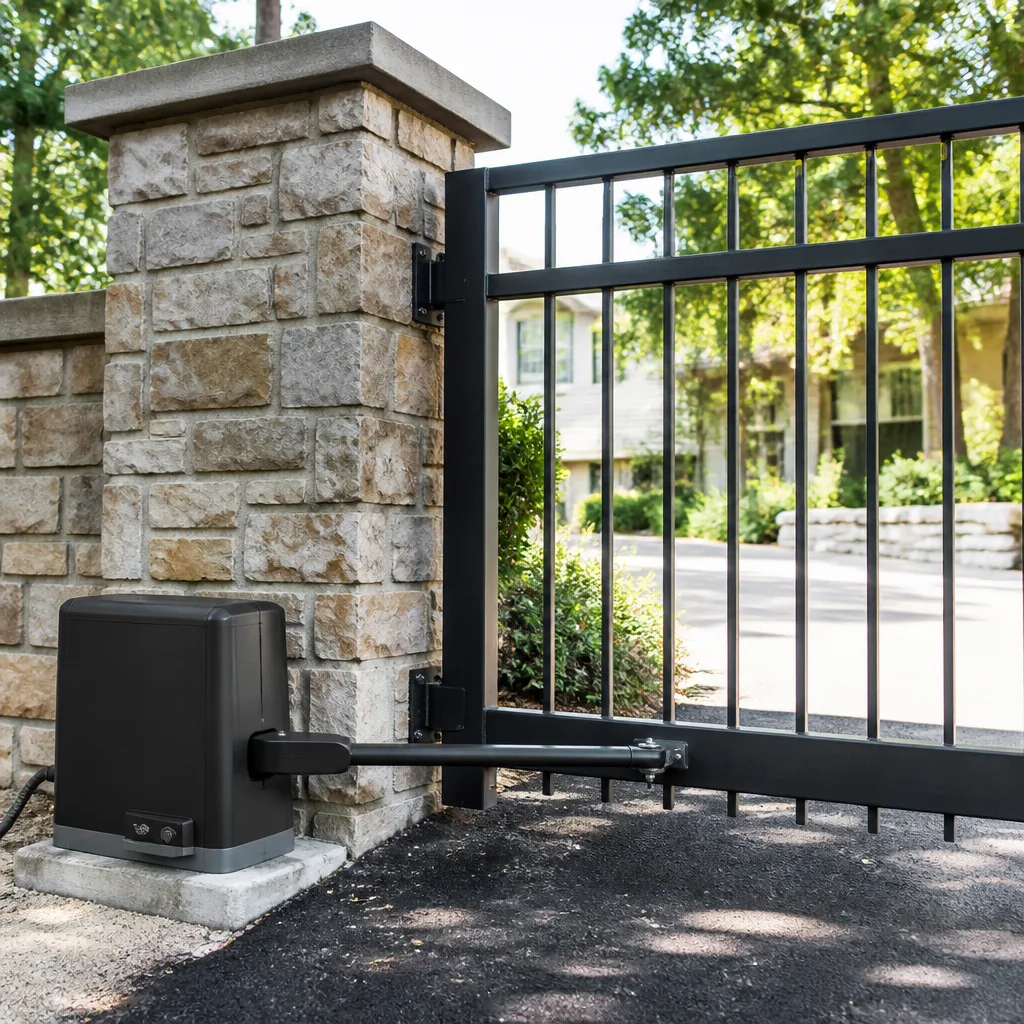
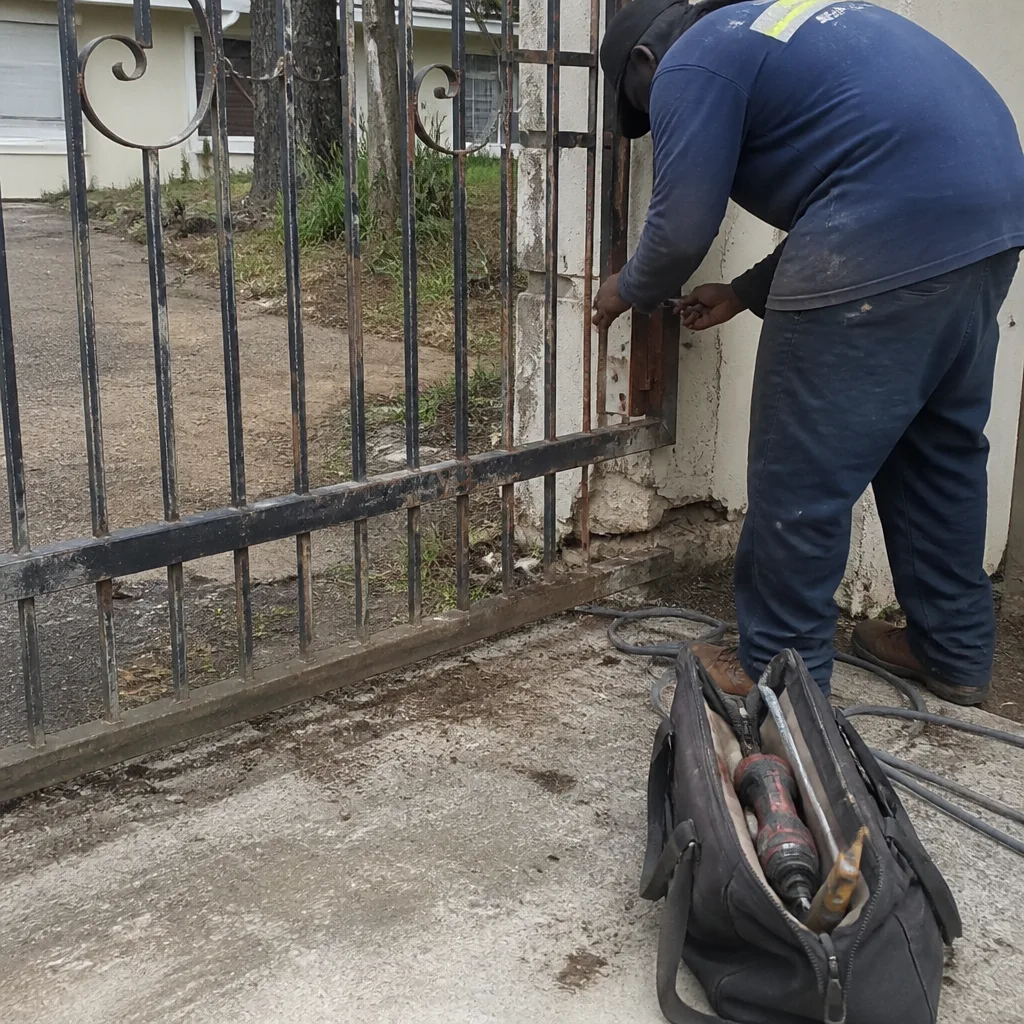 Before
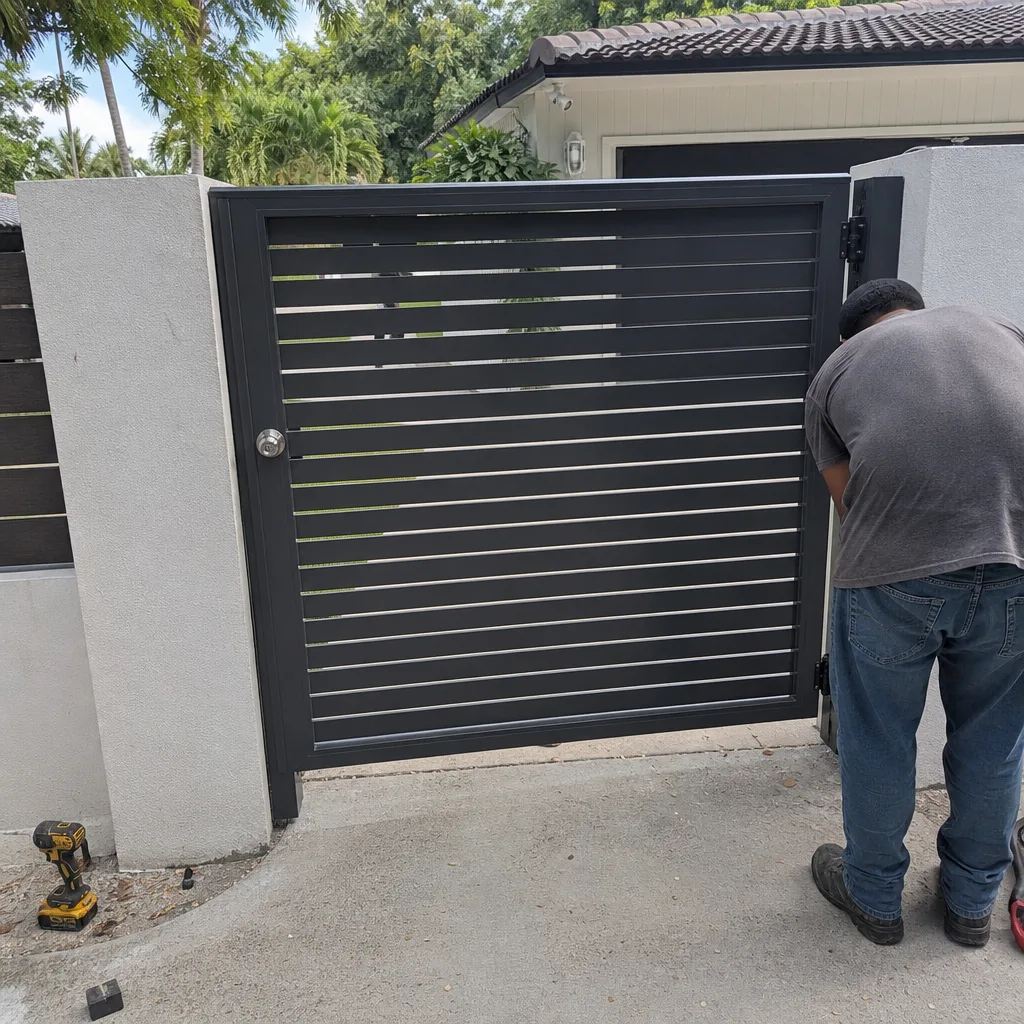 After
After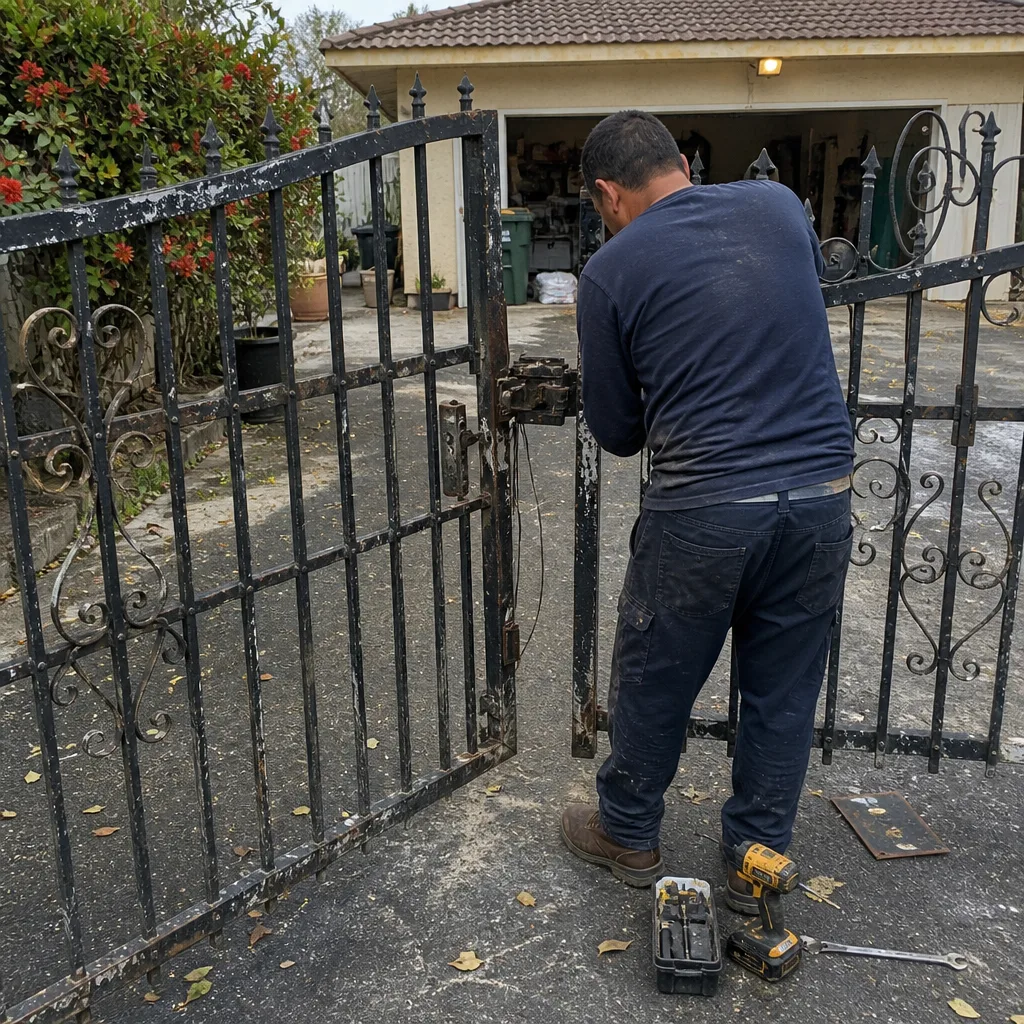 Before
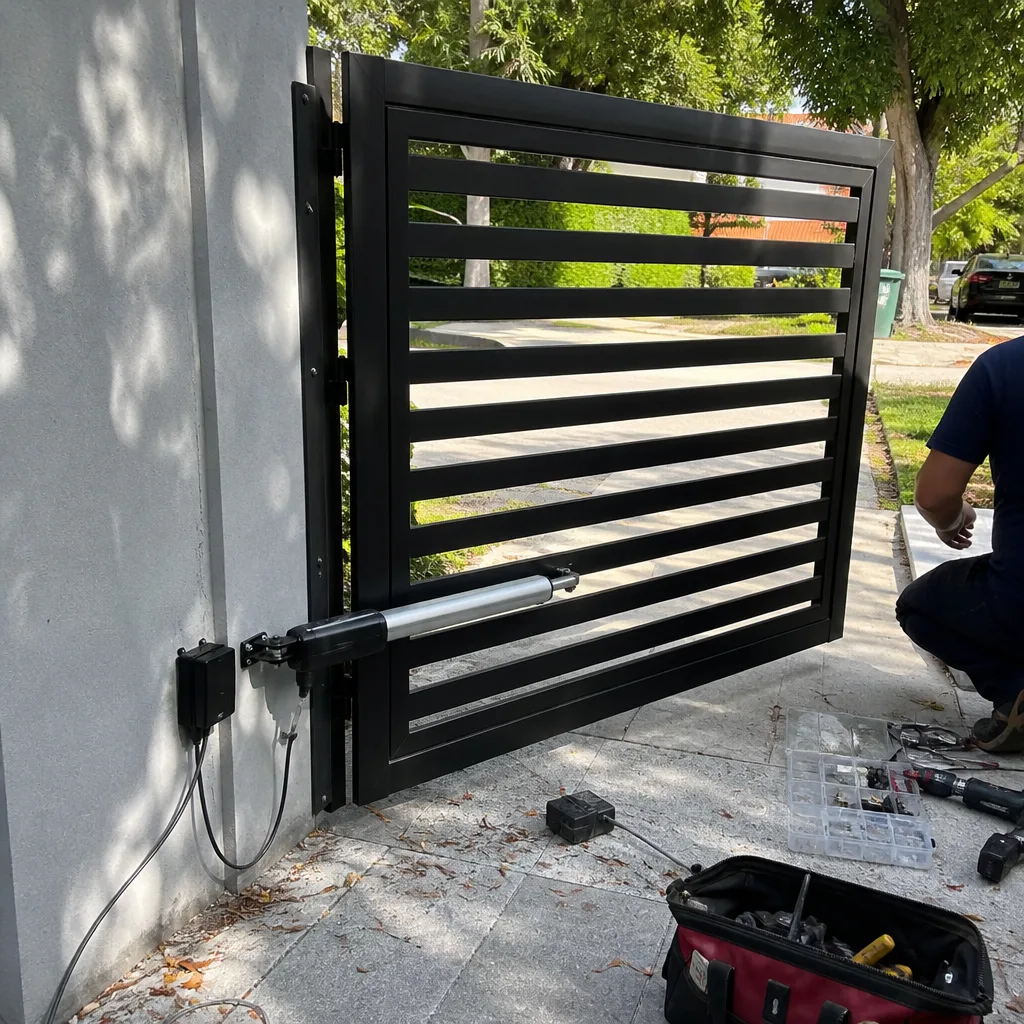 After
After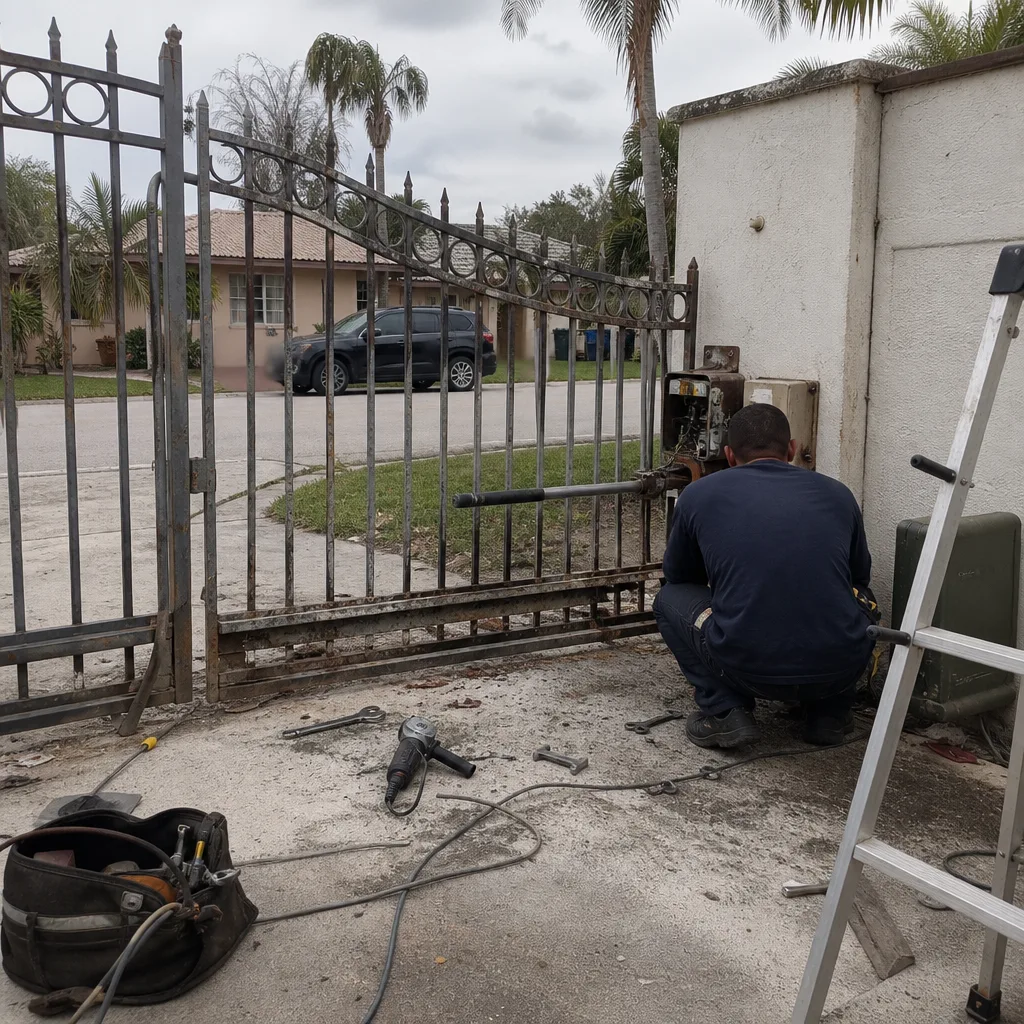 Before
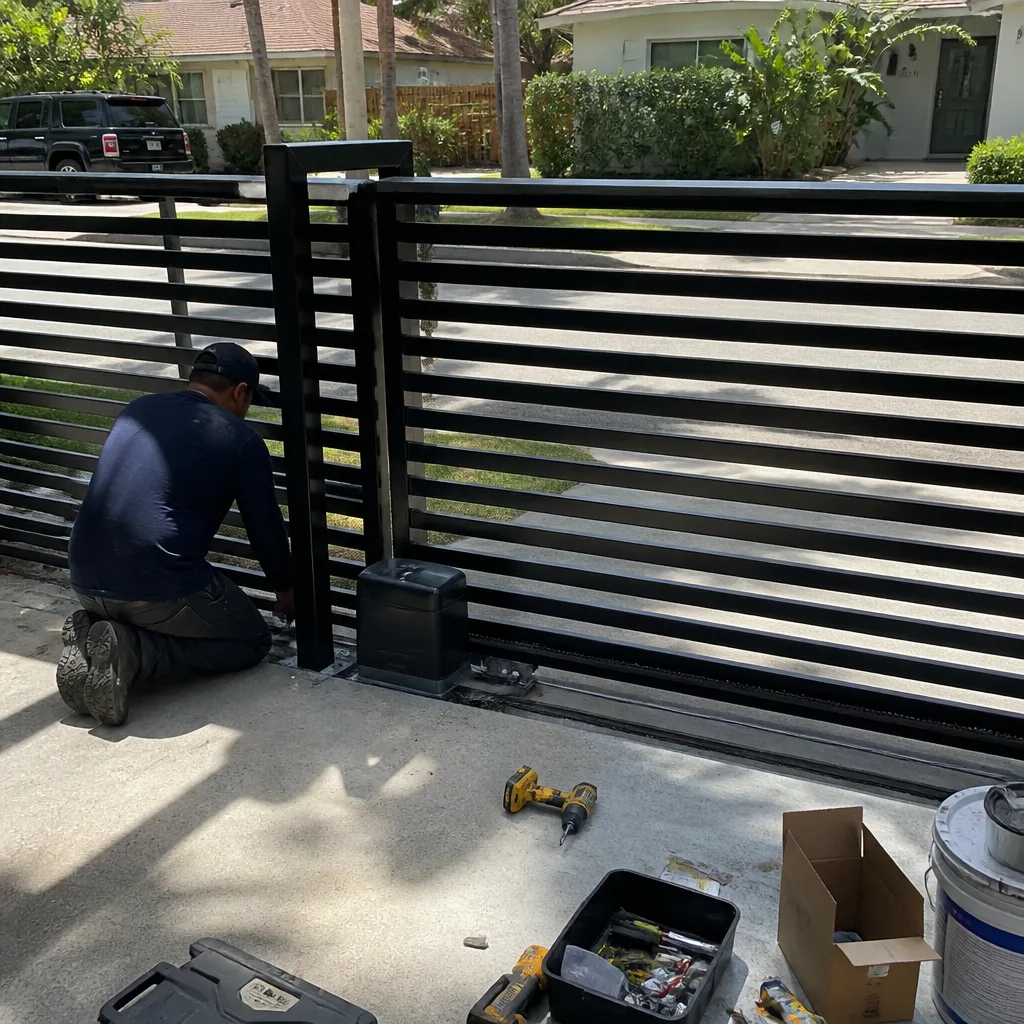 After
AfterMighty Mule Welding & Fabrication: The North Miami Beach Owner’s Guide
We stock and install Mighty Mule-compatible weldments and fabricated gate hardware in North Miami Beach, with most bracket, hinge, and arm repairs running between $180 and $420 installed, depending on the part and how much of the original material is salvageable. Same-day service is available for most weld failures, since our trucks carry Mighty Mule bracket sets, hinge plates, and raw steel stock ready to cut and fit. The way owners usually find us: the gate starts sagging at the free end, the opener arm pulls loose from the post, or a hinge tears out of the column and the gate won’t close square. The motor keeps running, but the metal it’s pushing against has given up.
Which Mighty Mule Models This Applies To
We fabricate and weld for the full Mighty Mule swing and slide lineup: the MM260, MM360, MM371, MM372, MM571, MM572, the FM series, and the RB741/RB742 slide operators. The compatibility gotcha most owners miss is that Mighty Mule changed their post bracket dimensions between the MM360 and MM371 generations, so a bracket from an older unit won’t transfer to a newer one without re-drilling or building an adapter plate. We identify the correct part two ways: the model number on the control board label, and the physical measurement of the bracket’s mounting bolt pattern and arm receiver width. For Mighty Mule specifically, OEM brackets are zinc-plated steel, which holds up adequately inland, but in North Miami Beach’s salt air, the plating fails within two to four years. We often fabricate the same bracket geometry in 304 stainless to end the corrosion cycle entirely.
Signs Your Mighty Mule Welding & Fabrication Is Failing
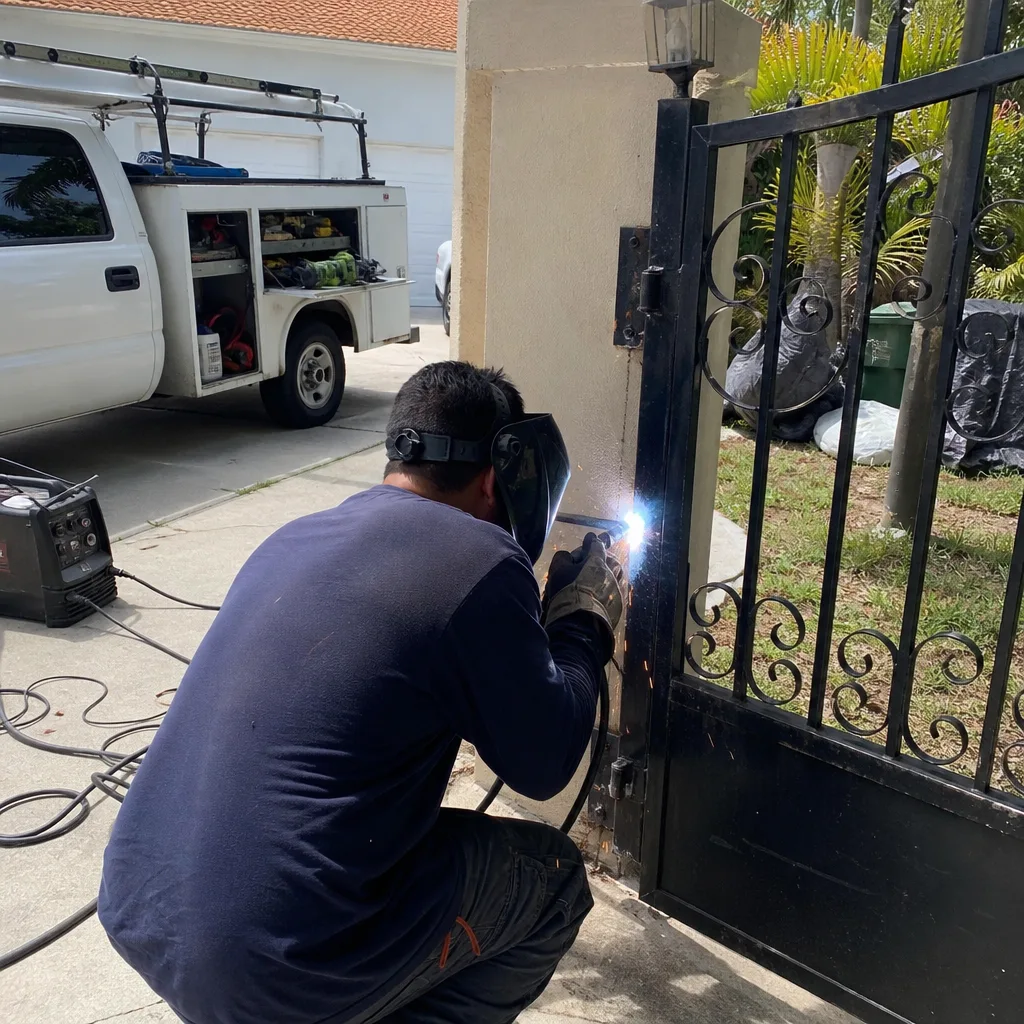
- The gate drops at the latch end. The hinge weld or the hinge plate itself has fatigued, usually where the barrel meets the plate. A quarter-inch of sag at the free end translates to that much extra strain on the opener arm every cycle.
- The opener arm bracket is loose or pulling away from the post. The bracket bolts are intact, but the metal around them has elongated or cracked. Tightening the bolts won’t fix it; the steel has to be replaced or gusseted.
- You can see daylight between the bracket and the post. This is the telltale sign of a cracked weld or a sheared bolt hidden behind the plate. The gate still works, but the bracket is floating, which means the motor is pushing against a hinge point that isn’t fixed.
- The gate moves an inch or two before the arm actually pushes it. Lost motion usually traces back to a worn arm clevis pin or a wallowed-out hole in the welded arm receiver. It’s a small part, but it wears the motor’s gearbox faster with every cycle.
- Fresh rust bleeding from a weld seam. On Mighty Mule’s powder-coated arms, rust at the weld usually means the coating cracked at the joint and salt from the North Miami Beach air has been working inside. The visible rust is cosmetic. What’s underneath is the problem.
 Before
 After
AfterReplacement Cost & What’s Included
Most Mighty Mule weld and fabrication repairs in North Miami Beach land between $180 and $420 installed, depending on what failed and how much of the original part we can reuse. A simple bracket swap is at the low end. Fabricating a custom stainless hinge plate, cutting out a corroded section of gate frame, and welding in a new piece is at the high end. Every quote is written, in dollars, handed to you before we pick up a tool. That’s Haven Standard Clause 1, and it applies whether the job is a $180 bracket or a full gate frame repair. Labor, materials, and the fabricated part are all line-itemed. The work is covered by the 365-Day Done Right Promise: if the weld fails or the bracket shifts within a year, we come back and make it right at no charge.
DIY or Call Us?
What you can safely check: the bracket bolts, the hinge bolts, and the arm clevis pin. If they’re loose, snug them. What you should not do is weld on a Mighty Mule gate while the opener is still connected to the arm. A spring-loaded or motor-driven arm under tension can release when a weld fails or a bracket lets go, and that’s a crushed-finger or worse injury waiting to happen. Same goes for grinding near the control board; metal dust on a live board shorts things fast. If the metal itself is cracked, torn, or rotted, that’s our job. Call (754) 219-6080 and we’ll send a background-checked technician with the right stock on the truck.
FAQs
In North Miami Beach, a zinc-plated OEM bracket typically lasts two to four years before salt corrosion compromises it; a 304 stainless fabrication we build typically lasts ten-plus years because the material itself doesn’t degrade in the marine air. The lifespan depends on what material you start with and how close the gate sits to the Intracoastal.
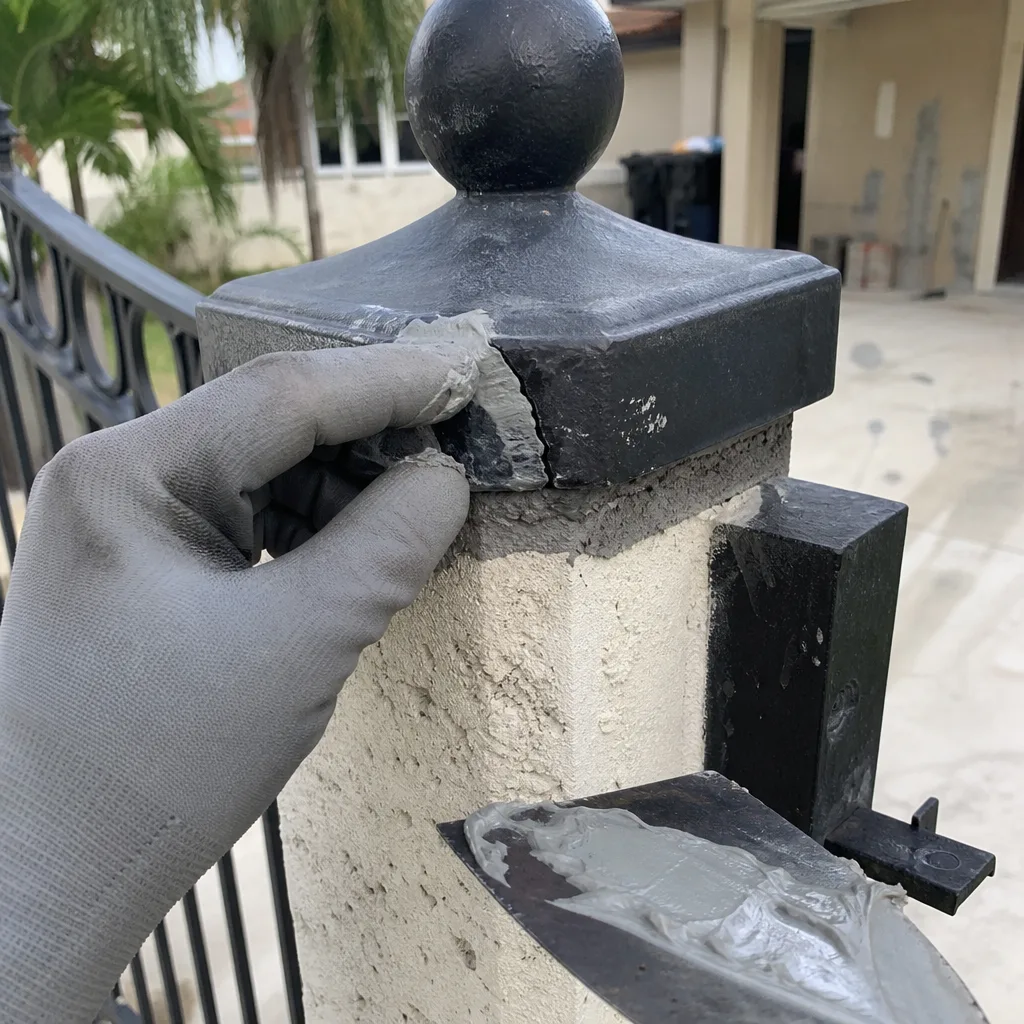
Sometimes. If the bracket is cracked but the base metal is still thick enough to take a clean weld, we’ll weld it, grind it smooth, and photograph the result for your job record. If the bracket is rotted through or the mounting holes have elongated, welding just moves the failure point, so we replace or fabricate.
Most bracket, hinge, and arm repairs are finished in one to two hours on site. Custom fabrication, like building a stainless hinge plate or repairing a rotted gate frame section, takes a few hours including fitting, welding, and cooling time. We’ll give you a written time estimate with the price before we start.
We carry Mighty Mule bracket sets, hinge plates, clevis pins, and raw steel stock for fabrication on the truck, along with parts for LiftMaster, Ghost Controls, and DoorKing since almost every North Miami Beach property has a mixed-brand setup. If you have an unusual slide-gate configuration, we’ll measure, fabricate the part you need, and install it the same day in most cases.
Written by Adrian Vance, Owner, Vance Gate Repair North Miami Beach at Vance Gate Repair North Miami Beach, serving North Miami Beach and nearby areas.